
1. Access the Simulatior Option
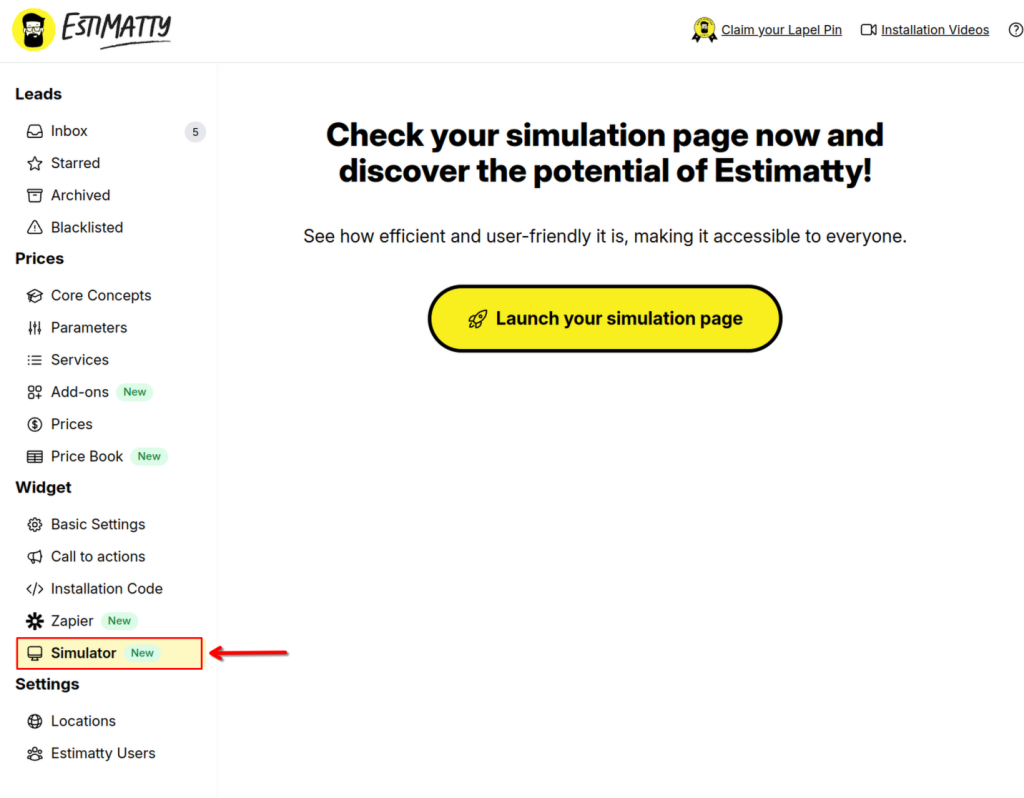
Navigate to the Widget -> “Simulator” option in the left-hand menu of your Estimatty dashboard. This section allows you to test the widget’s functionality before implementing it on your website.
2. Customize the Widget
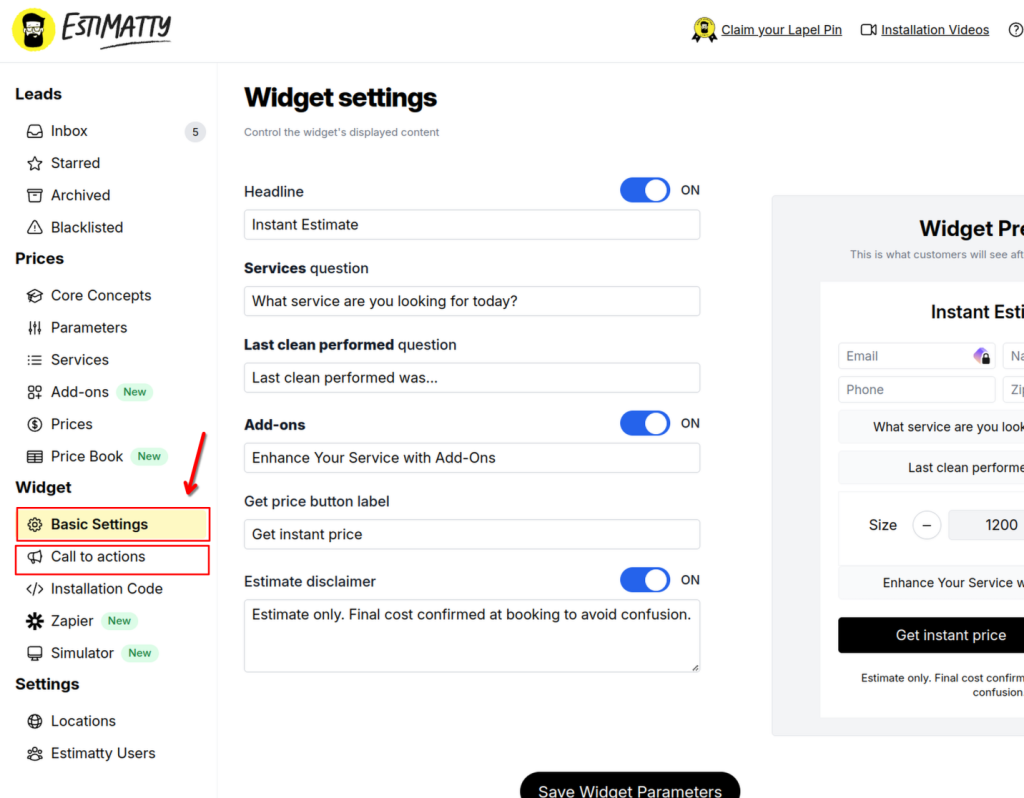
Before you launch your simulation page, remember that you have full control to Customize the Widget’s basic settings and call to action to match your preferences, including design and functionality. To do that, navigate to the Widget’s “Basic Settings” and “Call to Action” sections.
3. Launch the simulation page
Get ready to take action! Hit the Launch your simulation page button.
4. Welcome to your Estimatty simulation page! This is your opportunity to experience Estimatty’s powerful features firsthand and see how it can streamline your estimation process.
Here’s what you can do:
- Create Leads: Generate new leads directly from your simulation page. Enter their information, including name, email, and project details. Once created, you can view these leads and their associated estimates in your Estimatty account’s Leads section.
- Generate Estimates: Quickly create custom estimates based on the lead’s information. Customize the estimate’s content, pricing, and terms.
- Test Call-to-Actions: Experiment with different call-to-action buttons and configurations to see how they impact user engagement.
- Email and SMS Notifications: Receive automatic email and SMS notifications whenever a new estimate is generated. Stay informed and respond to leads promptly.
- Explore Integrations: Discover how Estimatty can integrate with your existing tools and workflows.